
Create the hub
Start the setup in any folder:
bunx @doguyilmaz/tapster setuptapster opens a page in your browser. It runs on your computer only, at 127.0.0.1:8277. It stops when you press
Ctrl+C in the terminal or click Close on the page.
Installed tapster with Homebrew? Run brew upgrade --cask tapster first: bunx runs the copy on your PATH when it
finds one.
The link it opens works once. If you close the tab, press Enter in the terminal for a fresh one. Prefer to type
commands? Set up from a terminal does the same steps with tapster init. Want the page to stay
there and update tapster with one click? Install tapster and keep setup running.
Choose your tap
Section titled “Choose your tap”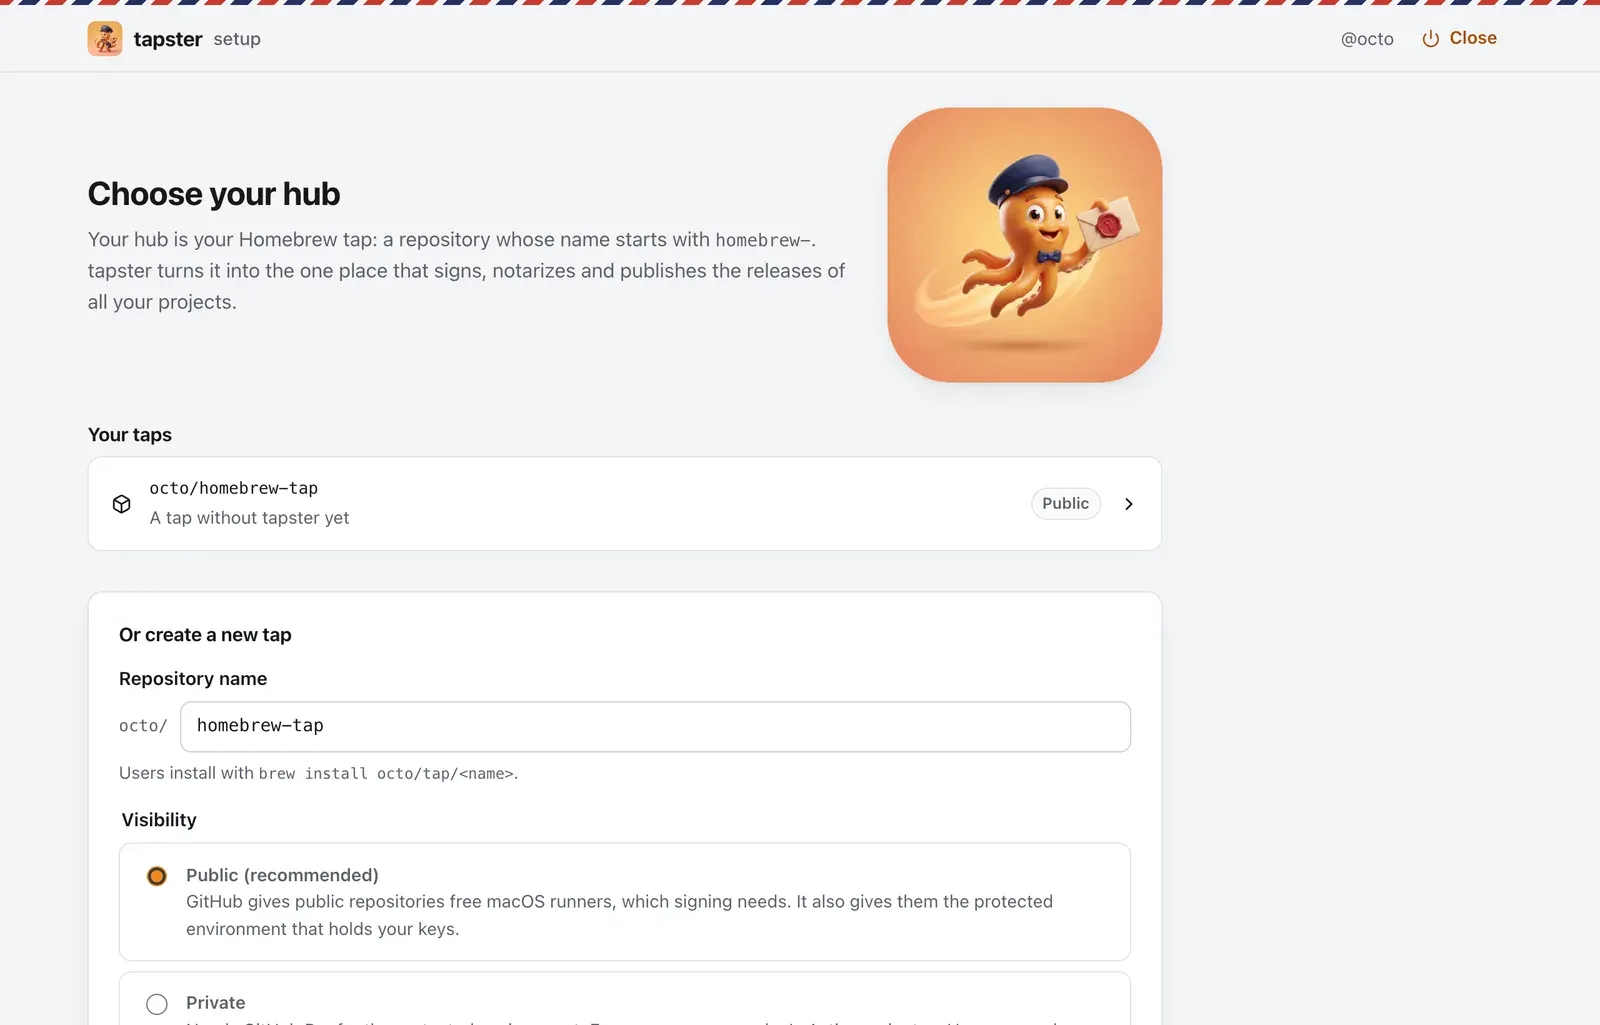
Pick your tap or create homebrew-tap here. Keep it public: GitHub gives public repositories free macOS runners,
which signing needs. It also gives them the protected environment that holds your keys.
The page now shows a route of seven stops on the left. Each stop turns green when GitHub has what it needs, so you can close the page and come back later: tapster reads where you are from GitHub, not from your computer.
1. Protect the hub
Section titled “1. Protect the hub”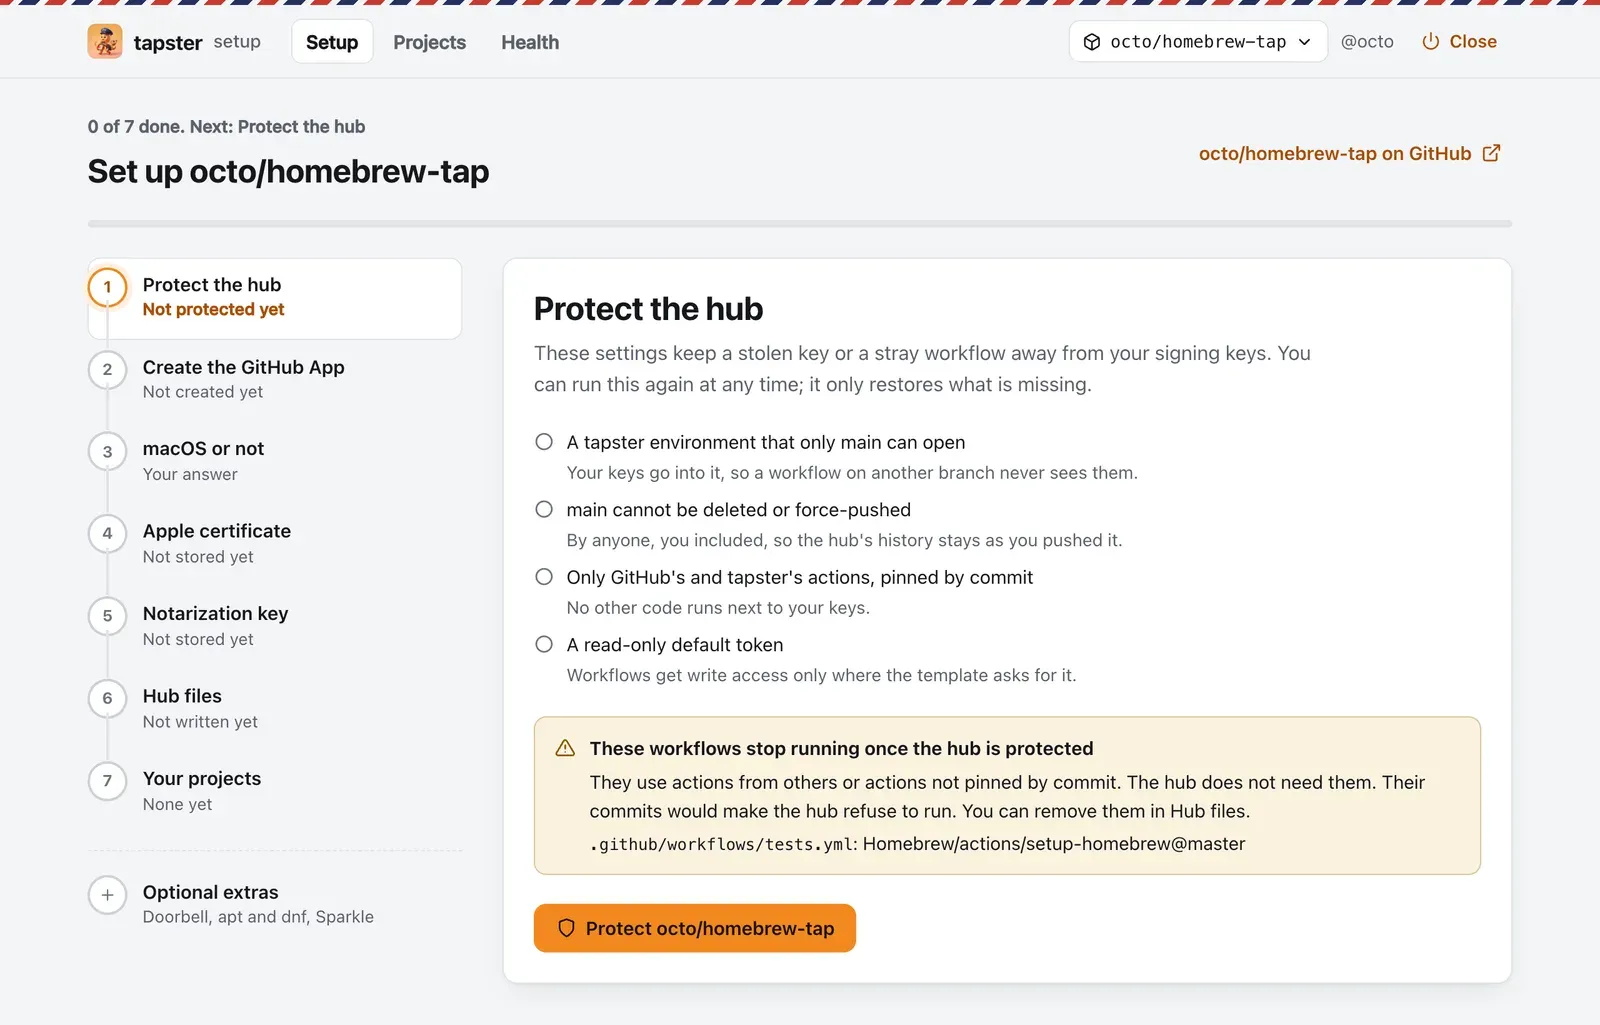
One button sets four things on the hub: a tapster environment that only main can open, a ruleset that keeps main
from being deleted or force-pushed, a rule that workflows run only GitHub’s and tapster’s actions pinned by commit, and
a read-only default token.
2. Create the GitHub App
Section titled “2. Create the GitHub App”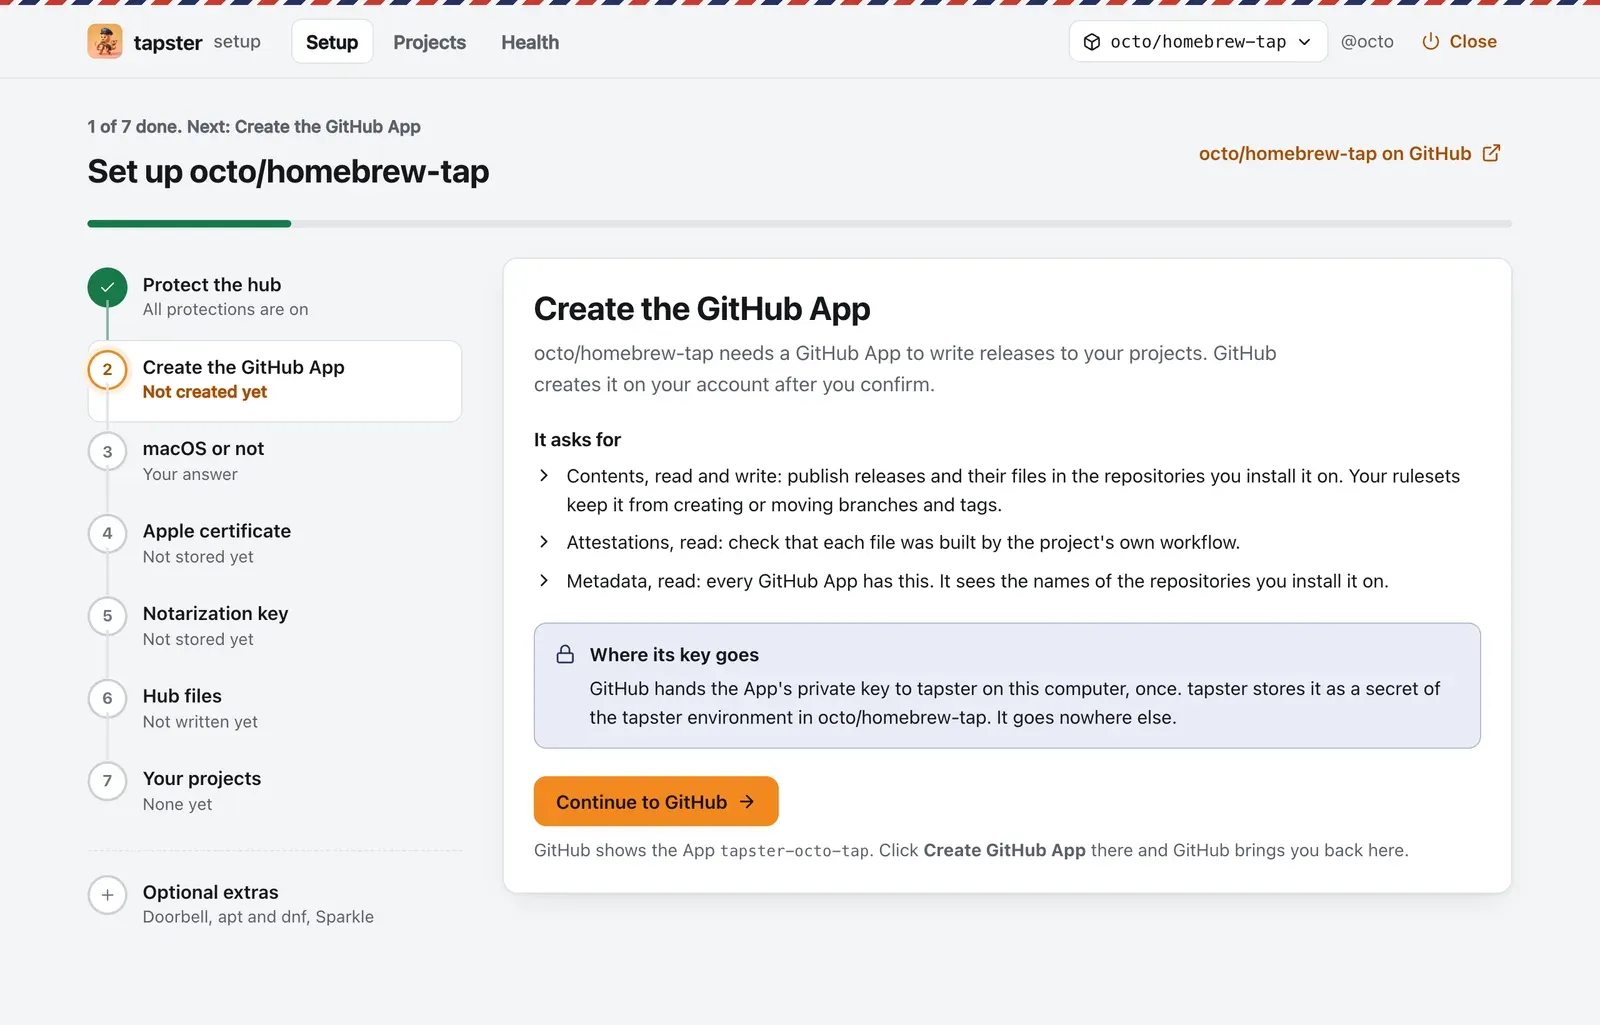
The hub needs a GitHub App to write releases to your projects. The page lists the permissions it asks for.
- Click Continue to GitHub.
- GitHub shows the same App. Click Create GitHub App.
- GitHub brings you back to the setup, which stores the App and its key in the hub.
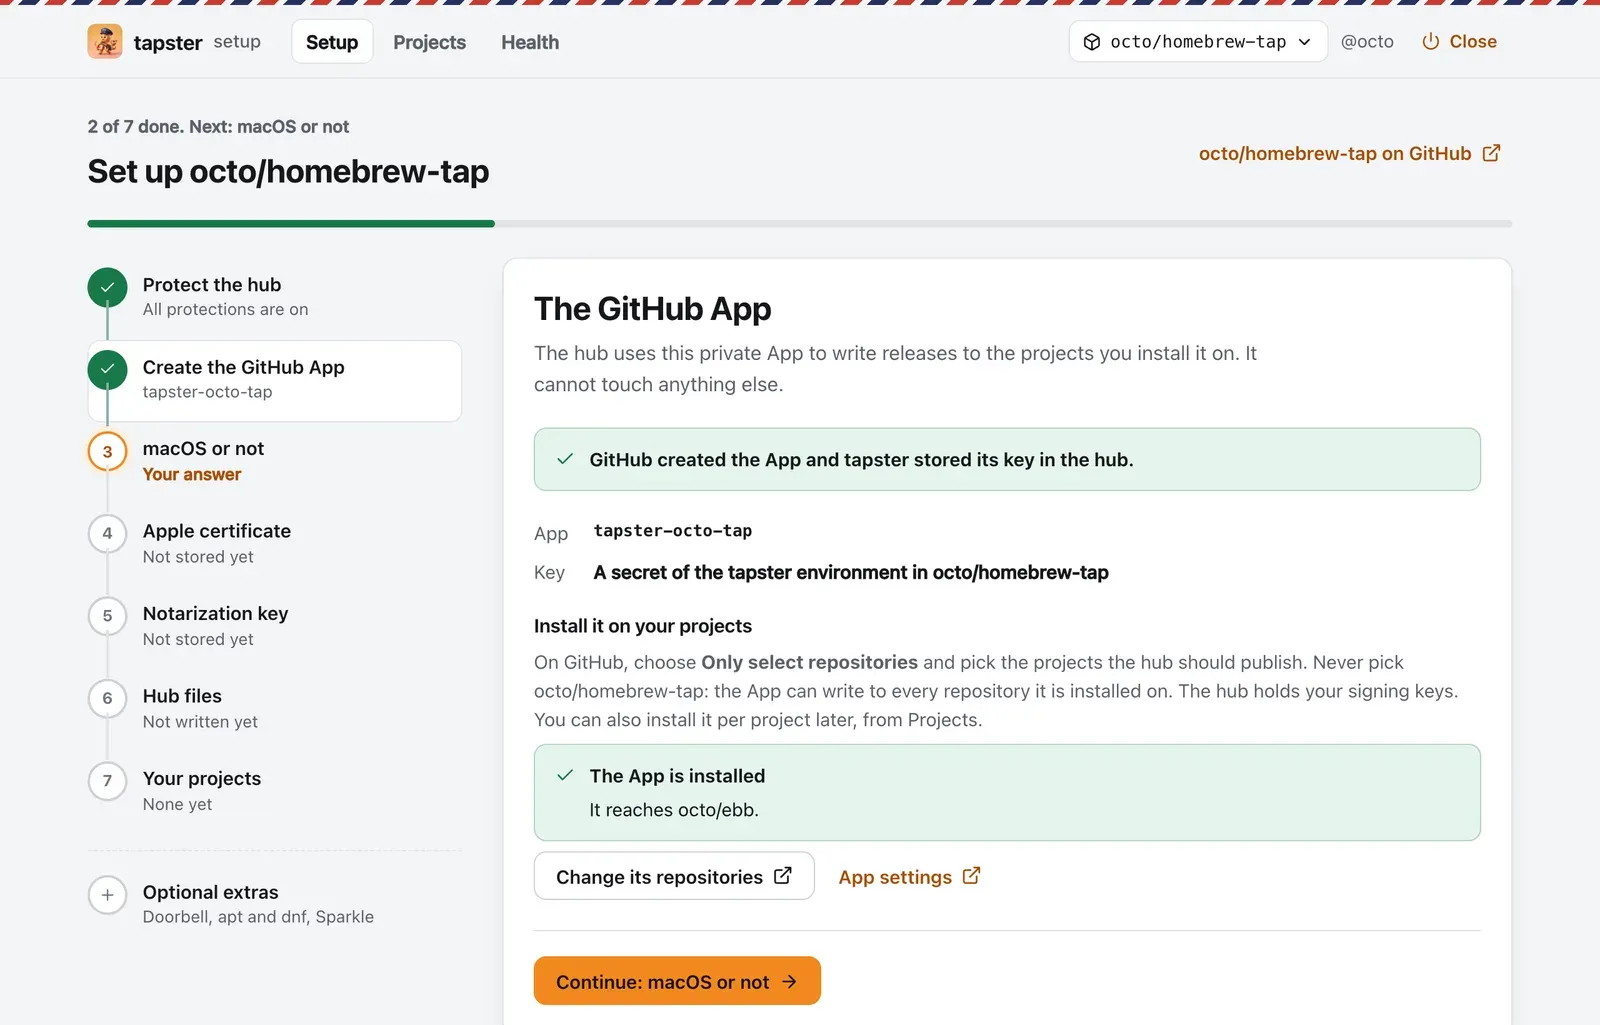
Now install it: click Install the App, choose Only select repositories and pick the projects the hub should publish. Never pick the hub itself: the App can write to every repository it is installed on. The hub holds your keys. The page notices the installation within seconds and lists the projects the App reaches.
3. macOS or not
Section titled “3. macOS or not”Answer Yes if the hub will sign Mac apps or command line tools with macOS builds. That needs an Apple Developer Program membership and the two files from the previous step. Answer No to publish only Linux and Windows builds; you can add the Apple credentials later on the same page.
4. Apple certificate
Section titled “4. Apple certificate”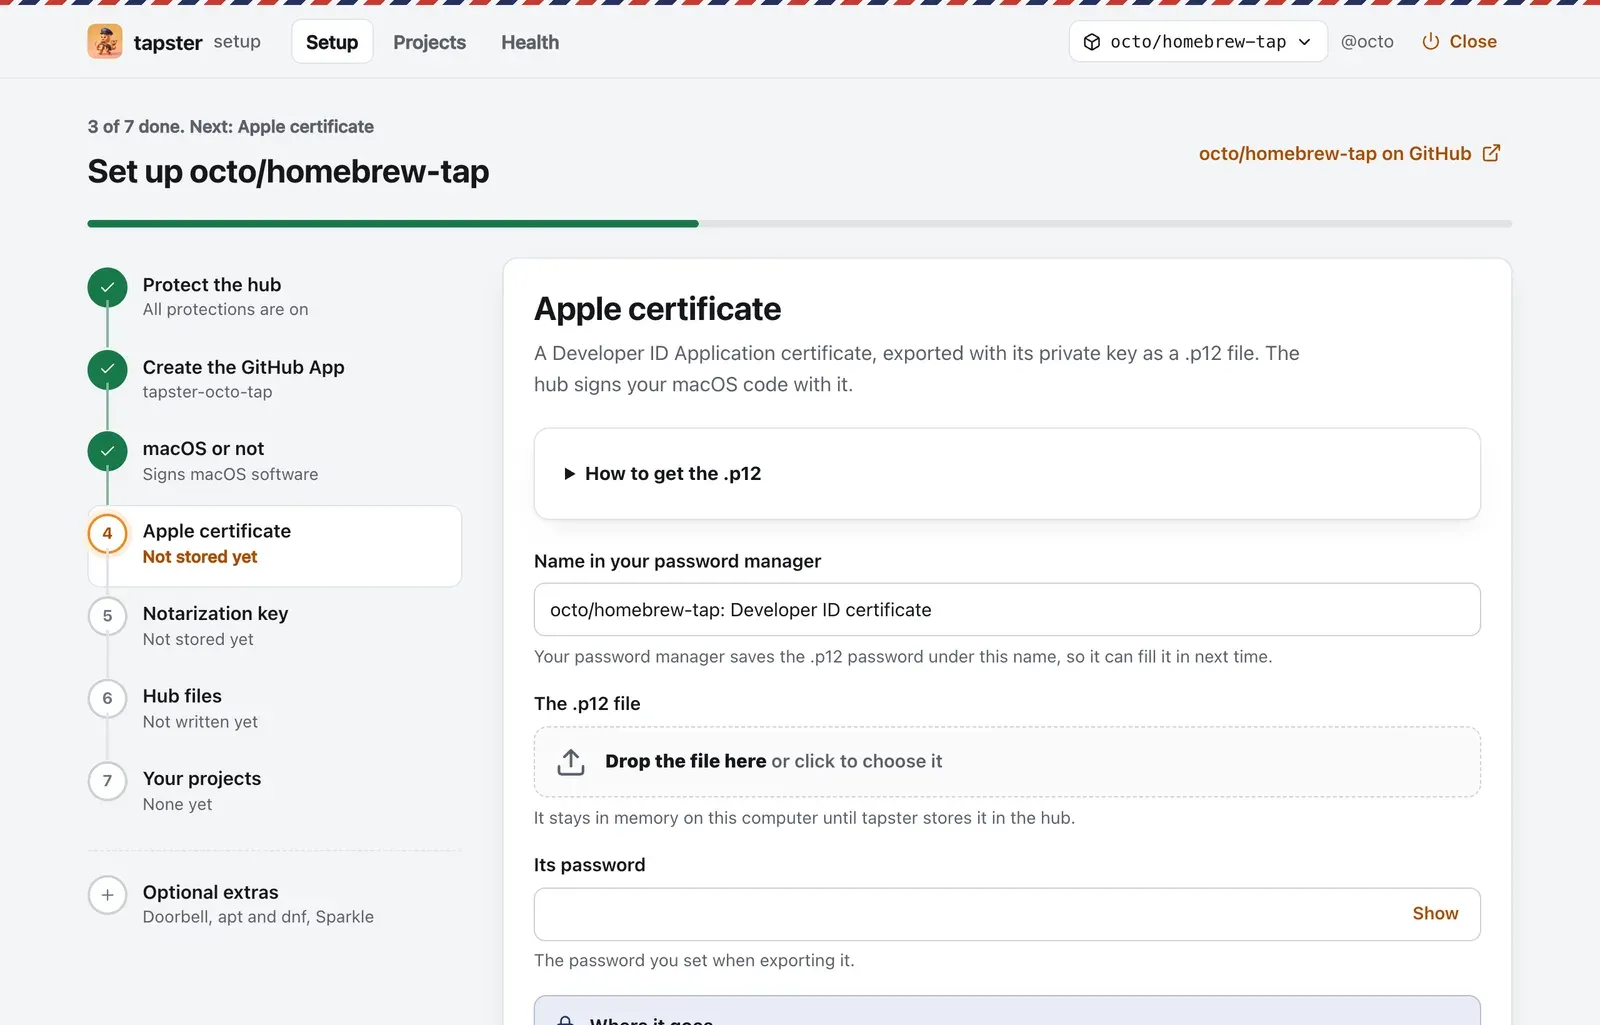
Drop the .p12 you exported and type its password. tapster opens it on your computer to check that it is a Developer
ID Application certificate with its private key that has not expired, then stores it. The page then shows your team and
the expiry date; the hub warns 30 days before.
5. Notarization key
Section titled “5. Notarization key”Drop the AuthKey_….p8 file and type its Key ID and Issuer ID. On a Mac, tapster asks Apple whether the key works
before it stores it.
6. Hub files
Section titled “6. Hub files”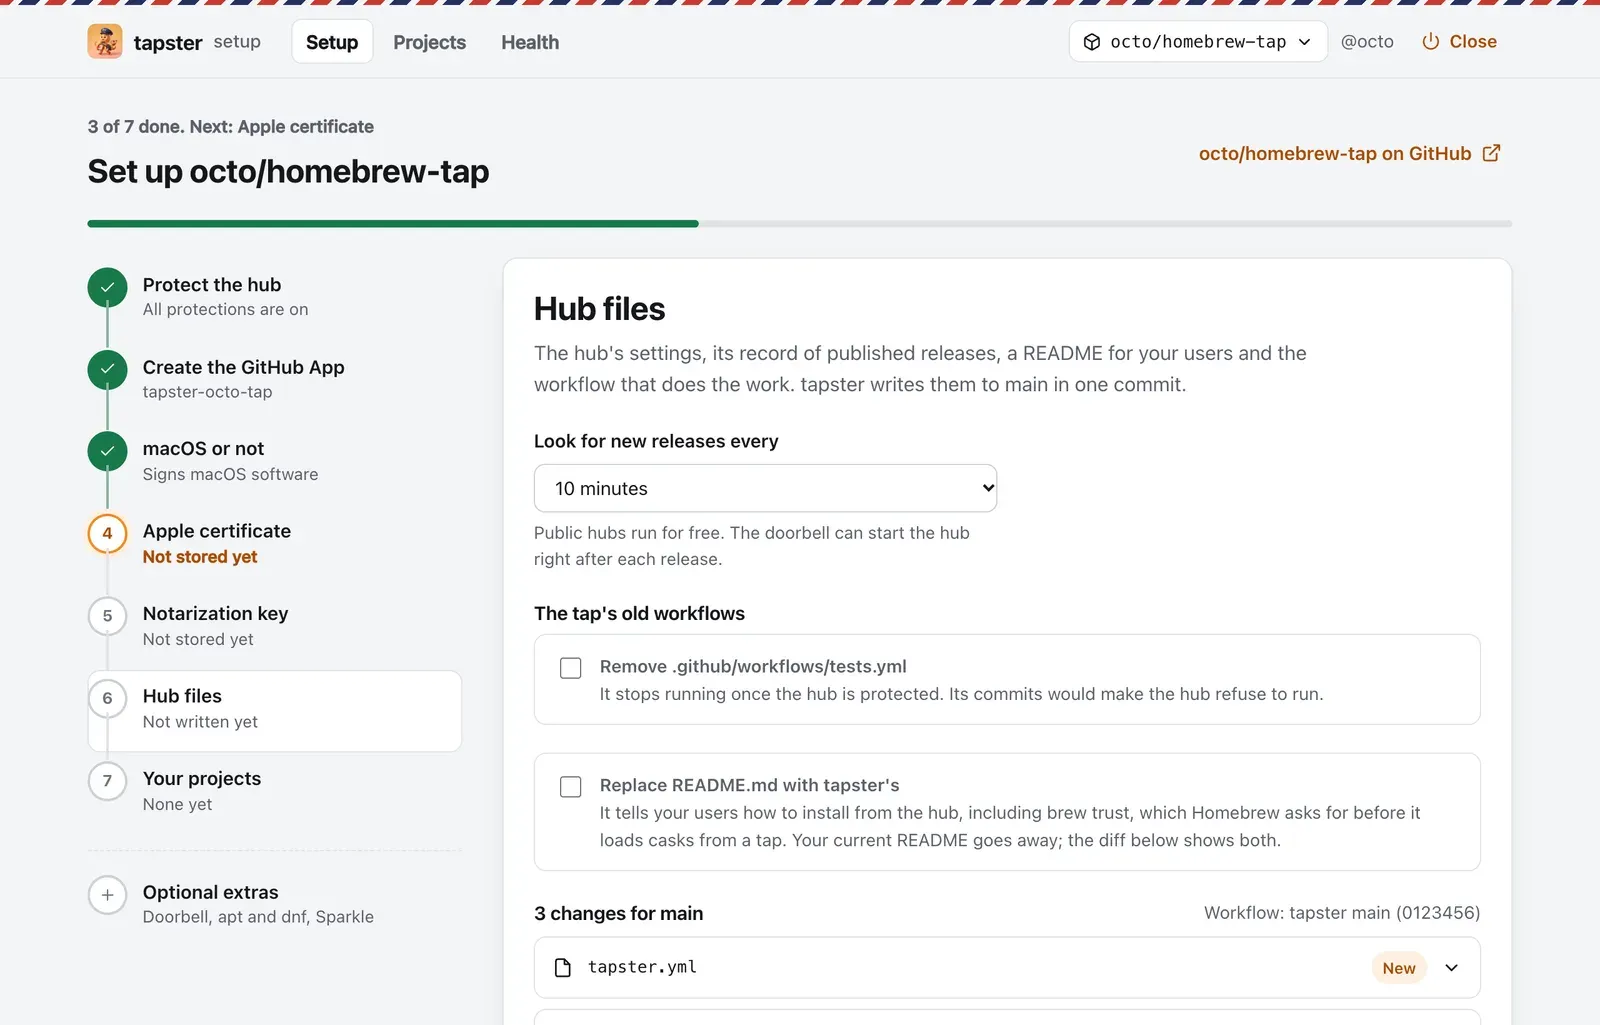
tapster shows the four files it writes to main: tapster.yml, .tapster/state.json, a README for your users and the
hub workflow, which pins the exact tapster you run by its commit. Open a file to read it. An existing README stays
unless you ask for tapster’s. Then click Write the changes to main: tapster commits them through GitHub, so you
need no clone of the hub.
The hub is ready. It has no projects yet, so its runs find nothing to do.